As Office 365 cloud-based services like Office 365 come into existence, many organizations have moved to it. Now, organizations that are using Office 365 are worried about their important data. For this, they are finding the best solution to export Office 365 mailbox to PST file format. This process can be done by manual or professional methods, but as we know, Office 365 uses for professional or personal use, so it stores essential data of an organization or individual. That is why it is necessary to find a reliable and quick method to complete this exporting task. So, let us discuss the methods to complete this task and find which is the best method for the users.
Benefits of exporting Office 365 mailbox into Outlook PST
- Backup: Users export their Office 365 data into PST format to keep a backup of their crucial data.
- Avoid unexpected situations: By exporting Office 365 mailboxes, users can easily avoid unexpected situations like accidental data loss, virus attacks, etc.
- To port data: As we already know, PST file is easily accessible and portable to local storage. So, to make data easily movable to other systems or local storage, users export Office 365 mailbox to PST file format.
- Migration: If you are looking to migrate to another email client in such a case you can keep your data safe.
- Reduce size: This exporting of Office 365 mailboxes also helps users to reduce the size of the Office 365 mailboxes.
Ways to export Microsoft 365 mailboxes
Users can accomplish this exporting task with the help of manual or professional methods. The manual method is a bit complicated to execute, so to overcome this issue, we came up with a step by step guide that you can follow to export Office 365 mailbox to PST file format using the manual method. After discussing the manual method, we will also describe a professional tool to help users in exporting Office 365 data easily.
Manual technique to export MS Office 365 data
Step1: Open Microsoft 365 Login page and log in with the administrator credential.
Step2: Navigate to the Admin centre and go to the Security option.

Step3: Now go to Permissions and choose eDiscovery Manager.
Step4: Move to the eDiscovery Administrator and then click the Edit option.
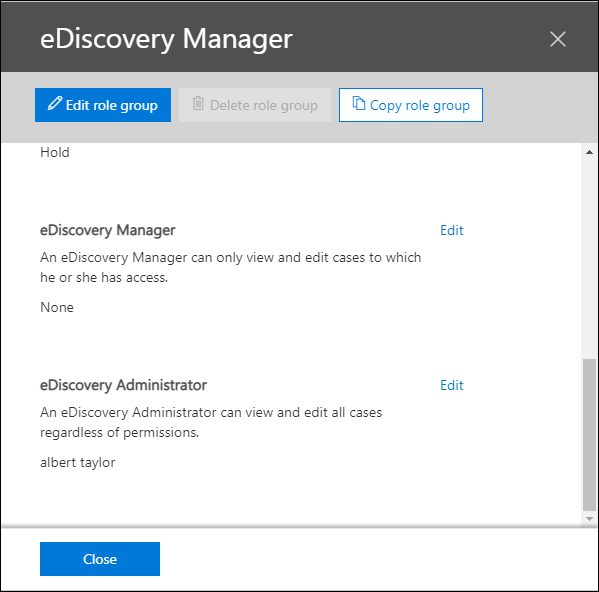
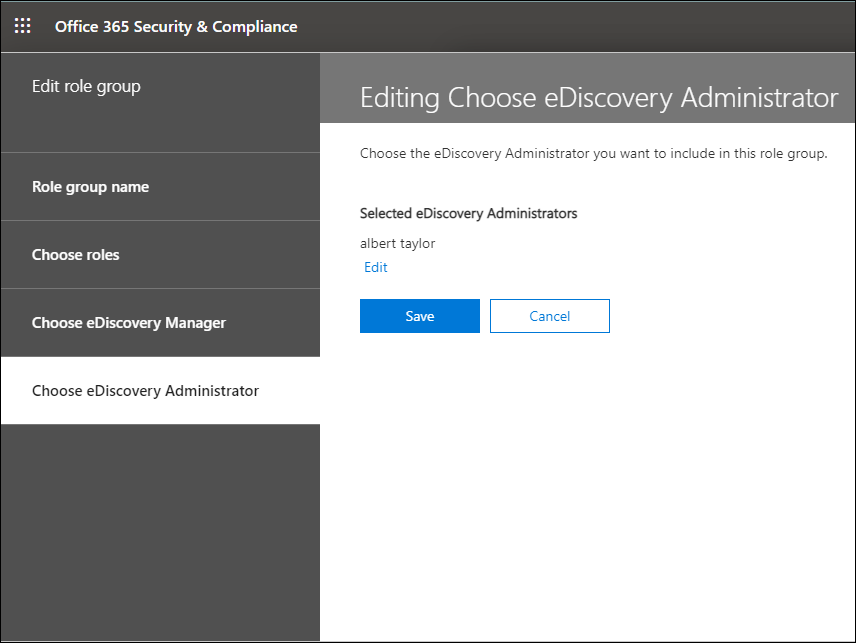
Step5: Choose the Administrator for eDiscovery and hit the Save button.
Step6: After that, go to the Search option and choose Content Search.
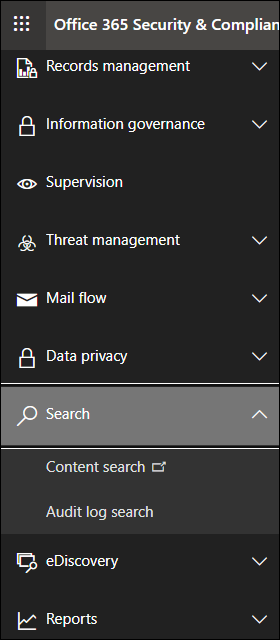
Step7: On the content search page, click on the + New search option.
Step8: Enter a name and description to the new search. Then, select the mailbox that you want to export.
Step 9: Choose keywords, add conditions as needed, and click the Submit button.

Step10: Select your last created search and hit the Action button.
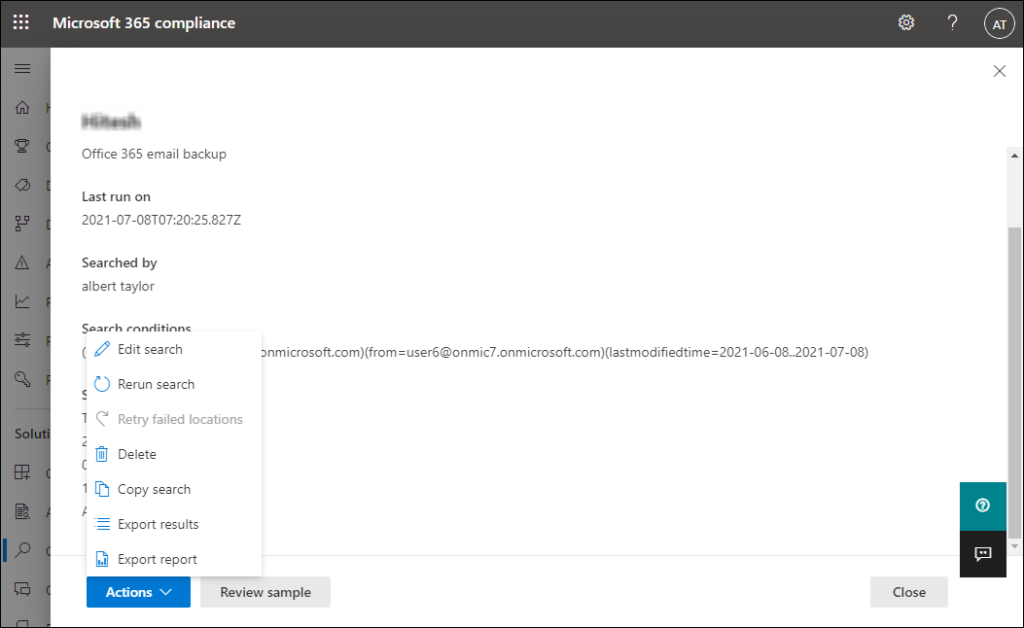
Step 11: Afterwards, click on the Export Results option.
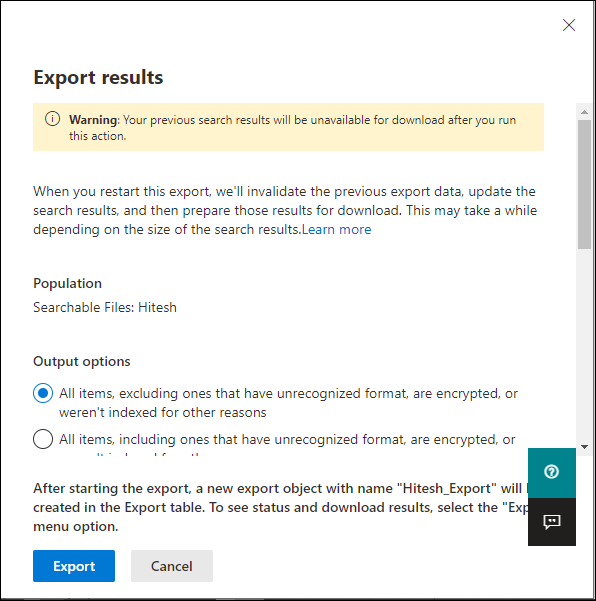
Step12: Choose the option as per your requirement from the Output options and Export Exchange content as. Thereafter, press the Export.
Step 13: From the search list, choose your search and then copy the Export key. Then, click on the Download results.
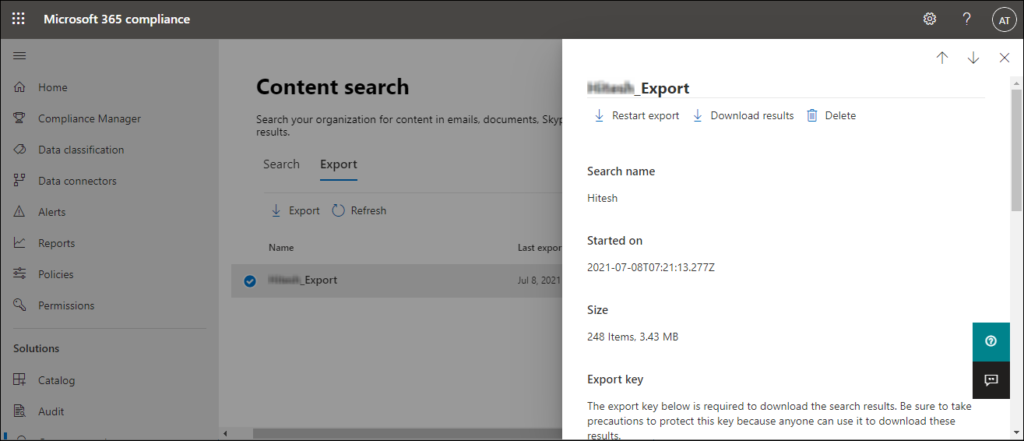
Step 14: The eDiscovery Export Tool will get downloaded to your device. Paste the Export key after opening the tool.
Step15: Browse the location to store the PST file and hit the Start button. The tool will start to export Office 365 mailbox to PST file format.

Let us discuss why the manual method is not the professionals’ choice to perform this task. It is because of the limitations of the manual method and a tricky user interface. Below we shared more limitations of this method that you may face while processing this exporting task.
Limitations of this manual process
- The eDiscovery method consumes a long time to process this exporting task.
- Users will not get any advanced features in this method, like a filter option, search facility, etc.
- It doesn’t allow users to export particular items from the mailbox.
- Users must require good technical skills to export Office 365 mailbox to PST format with the manual method.
- The manual method has a high chance of data loss and human error.
With these limitations, the task becomes hectic for the users, so to perform this task with an effortless procedure, users can try out the Shoviv professional tool. Using this method, the task to export Office 365 mailbox to PST file format becomes easy as a pie. For more details of its features and working, read the next paragraph carefully and understand the features of this automation.
Third-party utility for exporting MS Office 365 mailboxes into Outlook PST
Shoviv Office 365 Backup and Restore Tool is developed to ease the exporting task of the Office 365 mailboxes. This software has various features that work proficiently and provides quick result to users. To export Office 365 mailbox to PST format, this software is the best option if you are a new user. It expertly retains the hierarchy of the folder and data integrity without altering any data. This tool keeps all your data secure and exports it into a desired file format like PST, HTML, MBOX, etc.
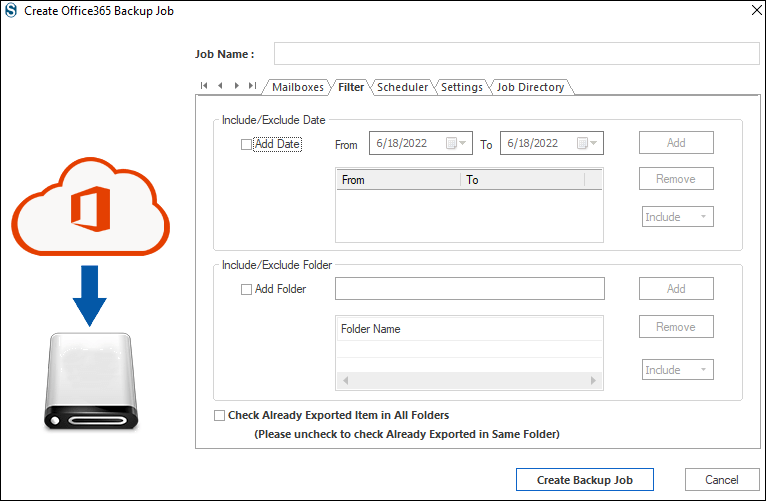
Users also make the backup of particular items by including them using its filter option. Plus, users can include or exclude items by date or folder-wise criteria. This software also has a simple user interface that allows all users to export Office 365 mailbox to PST file format. It allows users to create multiple backup jobs at a time, and it doesn’t affect the speed of the process while running multiple jobs.
This is an independent tool; users do not need to install Outlook while processing the exporting task. This tool also provides an incremental export option through which users can get rid of starting process repeatedly. Moreover, this option also eliminates the chances of data duplicity. For an effortless procedure to export Office 365 mailbox to PST format, users can follow the below mentioned steps.
Steps to export Microsoft Office 365 data using Shoviv third-party tool
Step1: Visit Shoviv’s official website and download Shoviv Office 365 Backup and Restore Tool.exe.
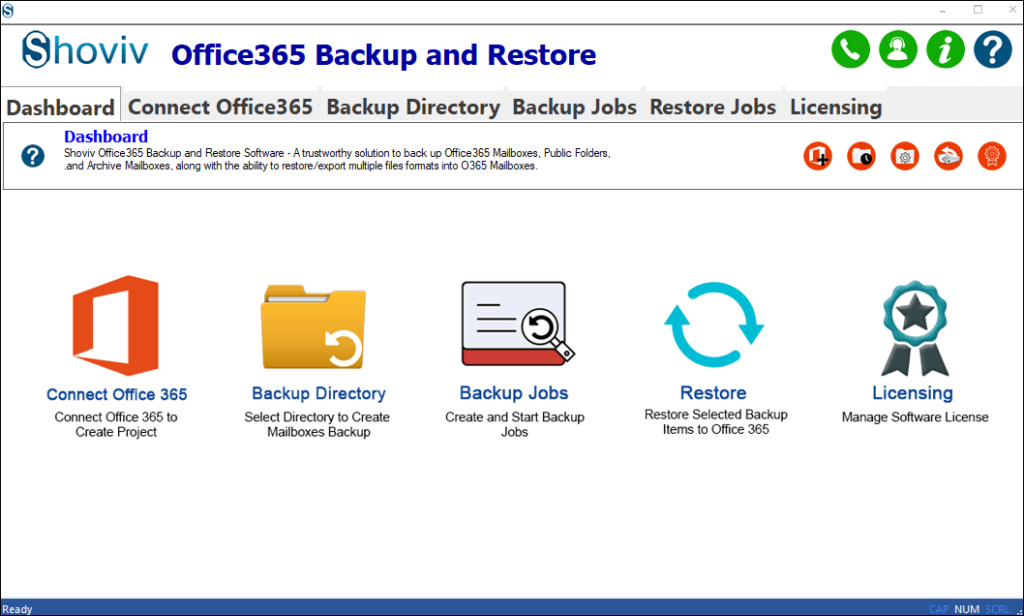
Step2: Open the software after installing it.
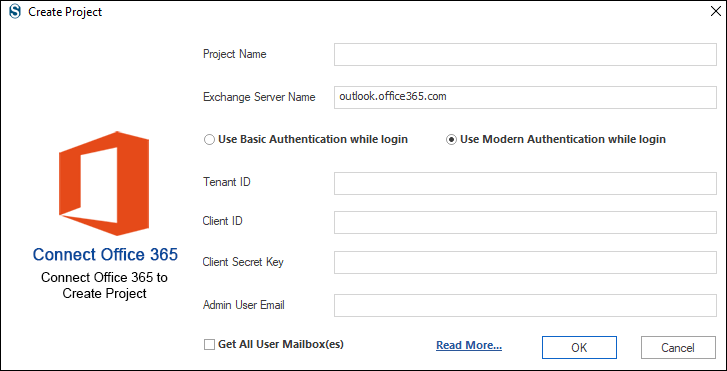
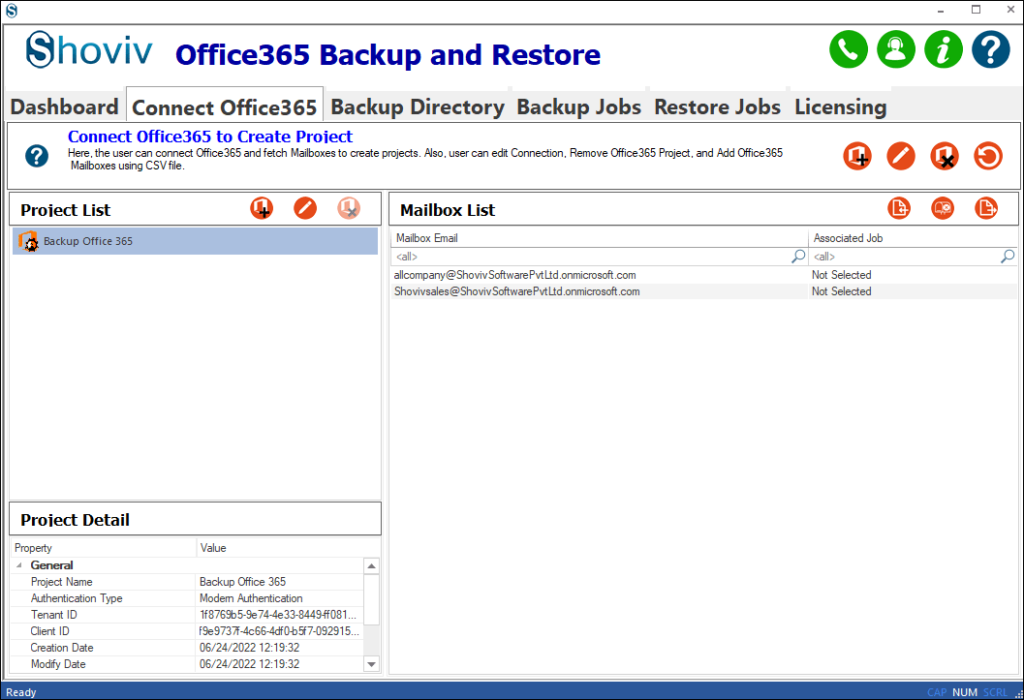
Step3: Tap the Connect Office 365 option.
Step4: Enter the needed details to connect with Office 365 and click Ok.
Step5: Choose the desired mailbox from the list.
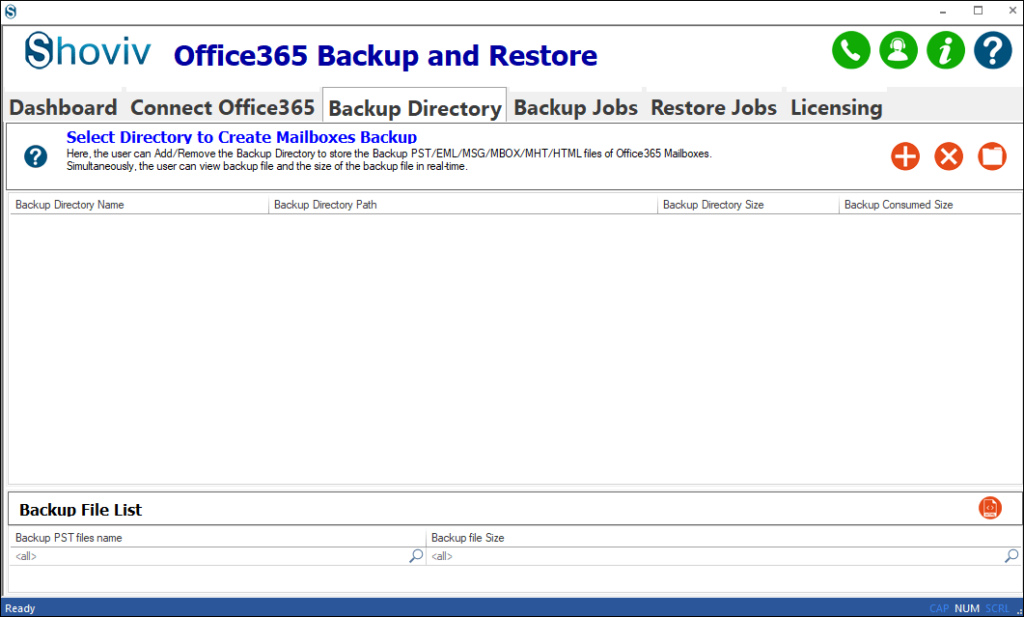
Step6: Now go to the Backup directory option and provide the path where you want to store the file.
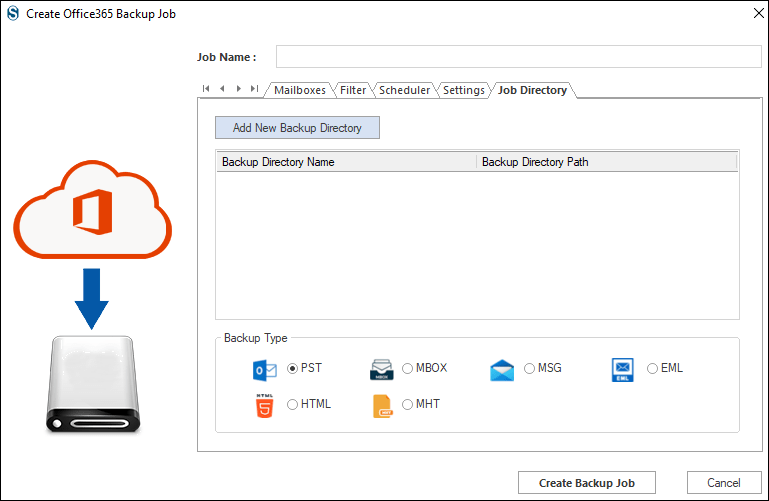
Step7: Move to the Backup Jobs option and choose the mailbox type.
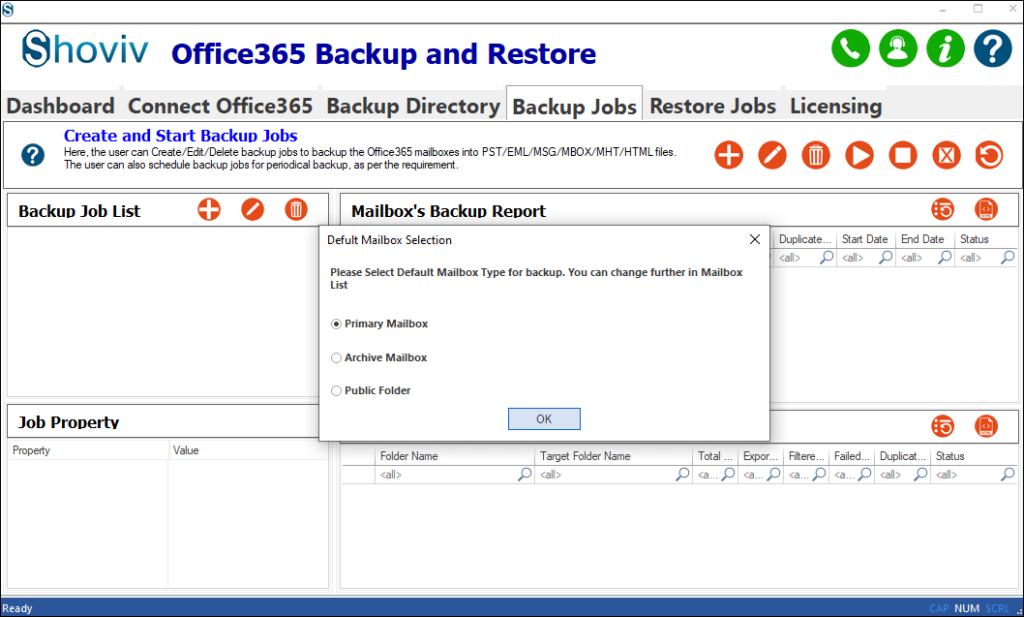
Step8: Click on the (+) Add option and create a new backup job.
Step 9: Filter items as per your requirements. Tick the Check Already Exported item in the All Folders option.
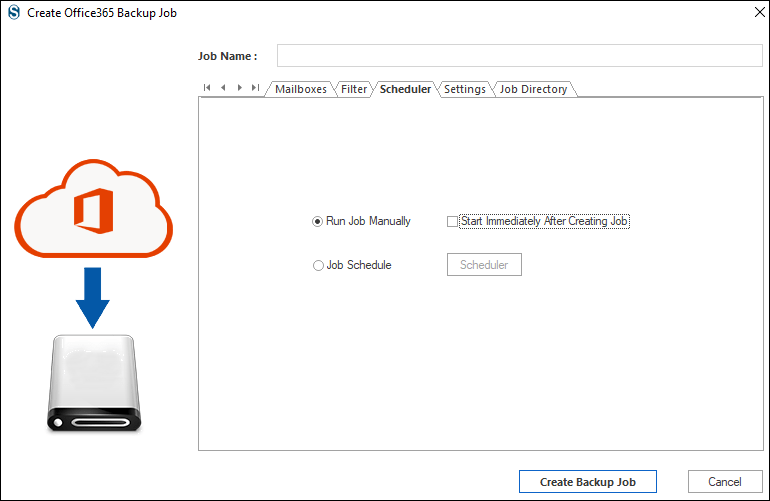
Step10: Use the Job Schedule option to schedule the backup job. Or check the Start job immediately after creating the job option to run instantly.
Step11: Select the PST file format from the options and provide the name of the Backup job. At last, click the Create Backup job to export Office 365 mailbox to PST format.
Step 12: The exporting process will begin in the next window.
Step13: Click the Finish button after completing the backup job.
Also Read: How to Migrate GroupWise to Office 365- Step by Step Guide
Conclusion
Here, we have learned the manual and professional ways to perform the exporting task of Office 365 emails. After discussing everything, we conclude that the Shoviv third-party tool is a reliable way to export Office 365 mailbox to PST format. However, the manual method is not much effective that it can provide a better experience to its users. So, choose Shoviv professional tool for a smooth working procedure.